Your cart is currently empty.
PAINT PROTECTION / WINDSHIELD FILM
AIR FRESHENER / ODOR ELIMINATOR
PPE / PERSONAL PROTECTIVE EQUIPMENT
PAINT PROTECTION PPF / WINDSHIELD FILM
Your car's paint is like its skin—it faces the elements every day, battling dirt, grime, and pollutants that cling to the surface and settle deep into the clear coat. While washing your car removes most visible dirt, it doesn't get rid of embedded contaminants that can cause long-term damage. That’s where clay barring comes in. It’s the ultimate deep-clean for your car’s paint, smoothing out rough textures and prepping it for wax or sealant. In this blog post, we’ll explore why clay barring is a crucial step in maintaining your car’s appearance and protecting its value.
What is a Clay Bar?
A clay bar is a specialized tool used in car detailing to remove stubborn contaminants from a vehicle's paint surface. Made from a flexible, resin-like material, the clay bar is designed to glide across the paintwork, picking up embedded particles that washing and waxing alone can't remove.
How often do I need to clay bar my car?
The frequency of clay barring your vehicle depends on several factors, including your driving environment, how often you drive, and how well you maintain your car. Here are some general guidelines:
Daily Driven Vehicle: If you drive your car daily or take long trips often, contaminants can build up more quickly. Consider clay barring your paint every 6 months.
Summer Vehicle: For those special vehicles that are rarely driven or only taken out on nice days you may only need to clay barring once a year.
Regular Washing: If you wash your car regularly (at least once a week), you can help prevent contaminants from embedding deeply into the paint. This might allow you to clay bar every 6 months.
Infrequent Washing: If you wash your car less often, contaminants can accumulate more quickly, necessitating clay barring every 3-4 months.
Feel the Paint: Run your hand over the paint surface. If it feels rough, it's time to clay.
Look for Contaminants: Visually inspect the paint for iron spots, tar, or other contaminants. If you notice a buildup, it's time to clay.
By considering these factors, you can determine the best schedule for clay barring your car. Regular maintenance will help keep your car looking its best and protect the paint from long-term damage.
How to Clay Bar Your Car for a Perfect Finish
Clay barring is an essential step in car detailing that helps remove embedded contaminants from your car's paint, leaving it smooth and ready for waxing, sealing or ceramic coating. Here's a step-by-step guide to help you achieve that professional finish at home.
What You'll Need:
• Clay bar kit (includes clay bar and lubricant)
• Microfiber towels
• Car wash soap
• Bucket and wash mitt
Step-By-Step Guide
1) Wash Your Car:
Start by giving your car a thorough hand wash to remove loose dirt and grime. Use a strong car wash soap and a wash mitt to clean the surface. Rinse the car well to ensure all soap is removed. The car can remain wet for the next steps.

2) Prepare the Clay Bar:
Take a piece of the clay bar and knead it until it's soft and pliable. Flatten it into a disc shape that fits comfortably in your hand.

3) Lubricate the Surface:
Spray a generous amount of clay lubricant onto a small section of the car's paint. This will help the clay bar glide smoothly over the surface without scratching it.

4) Clay the Paint:
Gently rub the clay bar back and forth over the lubricated area. You'll feel the clay picking up contaminants as you go. Continue until the surface feels smooth and you no longer hear or feel any friction.

5) Check the Clay:
Periodically check the clay bar for dirt and contaminants. Fold and knead the clay to expose a clean surface before continuing.

6) Inspect the surface:
After claying each section, Inspect the paint to ensure it's smooth and free of contaminants. If the paint still feels rough, re-clay that area.

7) Repeat as needed:
Move on to the next section and repeat the process until the entire car is done. Remember to keep the surface well-lubricated and the clay clean.

8) Final Wash:
Once you've finished claying the entire car, give it another wash to remove any remaining lubricant. Dry the car thoroughly.

9) Polish or Apply Final Protection:
Now that the paint is perfectly smooth its ready for polishing. Or if the paint is in good condition you can protect the freshly cleaned paint with a wax, sealant or ceramic coating. This will enhance the shine and provide a protective barrier against future contaminants.

Tips and Warnings:
• Do not use a clay bar on a dry surface; always use plenty of lubricant.
• Avoid dropping the clay bar. If it falls on the ground, it can pick up dirt and debris that could scratch your paint.
• Use light pressure. Let the clay do the work; pressing too hard can cause damage.
By following these steps, you can achieve a smooth, glossy finish that makes your car look like it just rolled out of the showroom. Happy detailing!
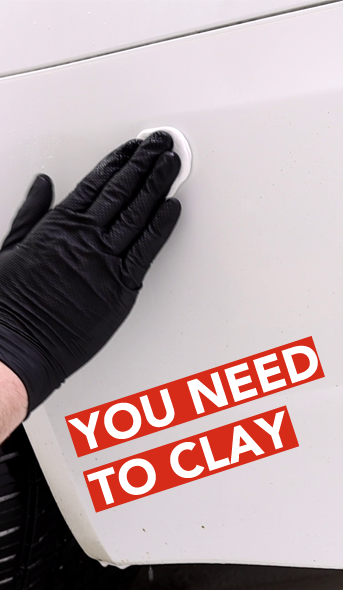
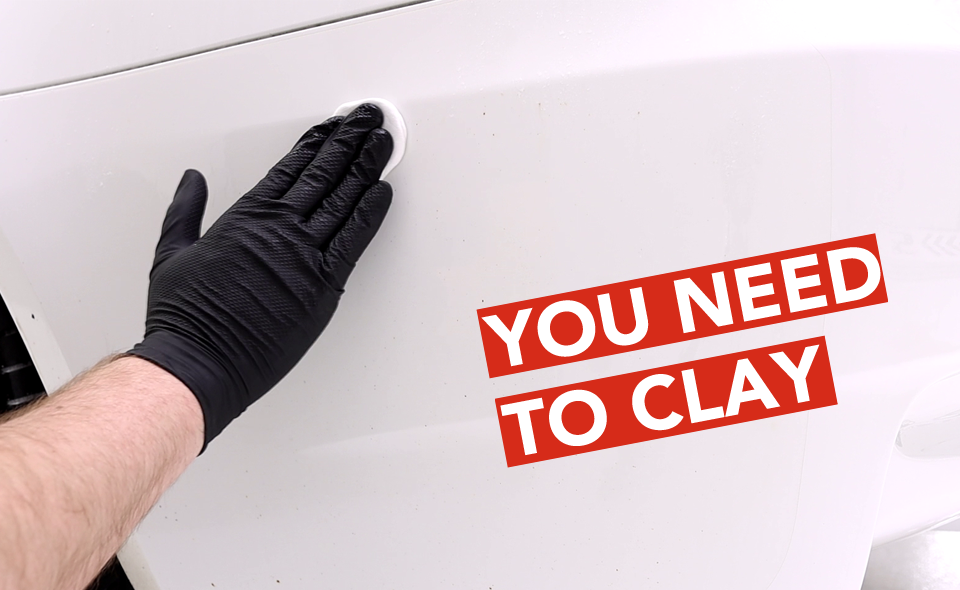
In this detailing tutorial video, we talk about the features and benefits of the OBSSSSD Clays and Clay Lubricant and the steps to use them.
This tutorial guide shows how and why to use detailing clay on your car. Test an area, apply lubrication and then run the clay over the surface to shear off any embedded contaminants in the paint to make surface perfectly smooth.
Where To Buy Clay Bar Products:
At Auto Obsessed, we understand the importance of maintaining your vehicle's appearance. Our team of experts is here to help you choose the right clay bar and provide professional application services. Contact us today to learn more and give your car the ultimate protection it deserves.